How I Make Printable Bookmarks | Handmade Bookmarks for Creatives

How I Make My Handmade Printable Bookmarks ✨
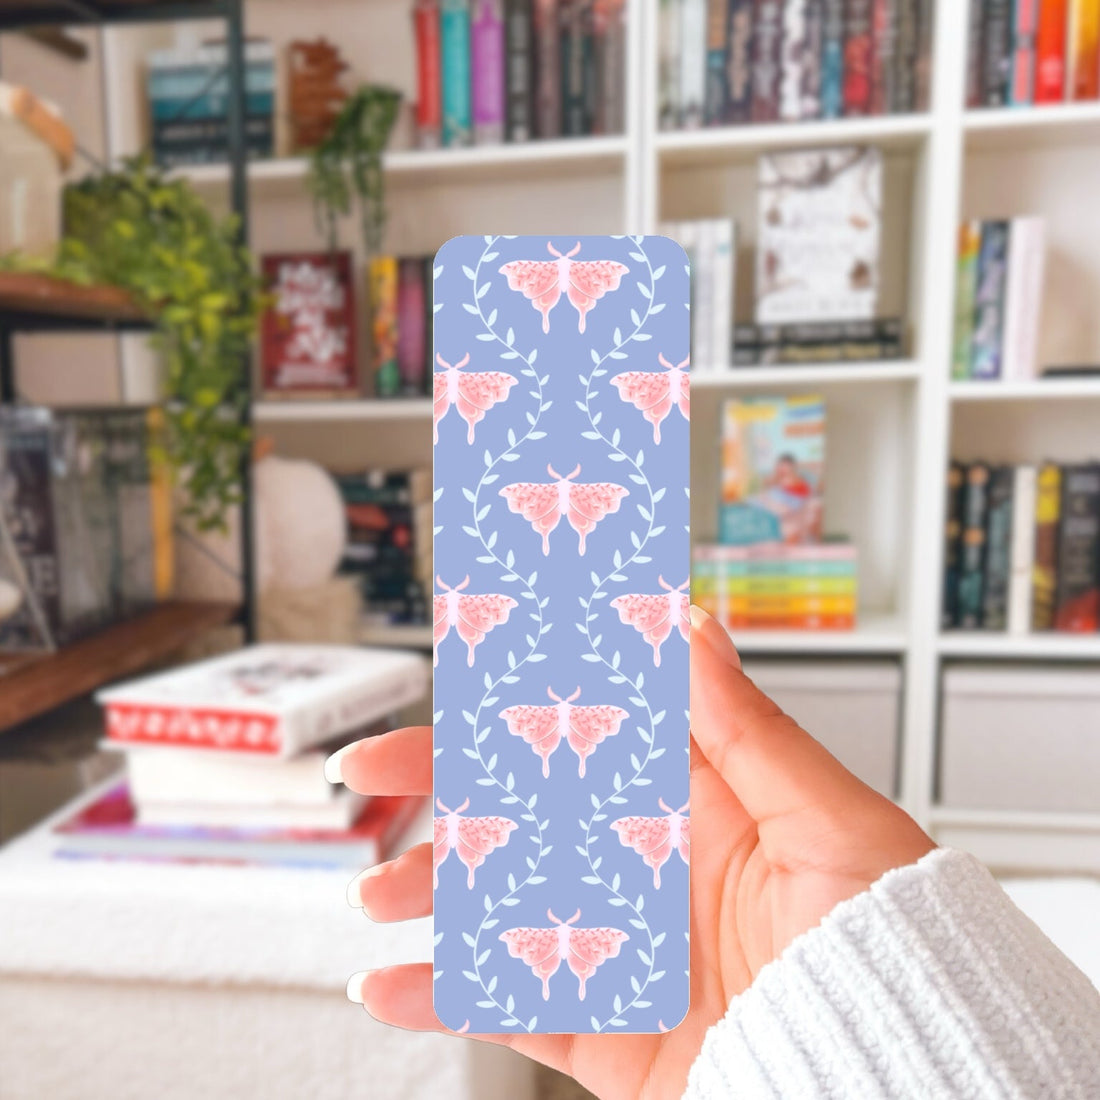
There’s something magical about holding a bookmark in your hand—especially when it’s more than just a piece of paper. For me, creating printable bookmarks isn’t just about function; it’s about making tiny works of art that bring a little joy to every page you turn. Whether you’re a fellow creative or a small business owner curious about the process, I thought I’d share how I make my double-sided bookmarks from start to finish.
Step 1: Choosing the Design 🎨
Every bookmark begins with a design. Sometimes it’s inspired by cozy seasonal themes, sometimes by whimsical florals or celestial patterns. Once I’ve finalized the artwork, it’s time to bring it to life on paper.
Step 2: Printing in High Quality 🖨️
To make sure the colors are vibrant and crisp, I always change the printer settings to “high quality.” This gives the bookmark that professional, polished look that makes it stand out compared to everyday prints.
Step 3: Double-Sided Printing Without the Flip Mess
To keep the bookmark-print right side up on both sides, I create and use a backside file for printing. After printing my “front,” I flip the paper from the side and print my “back” file. This keeps the design aligned so both sides of the bookmark look intentional and beautiful.
Step 4: Laminate for Durability
Bookmarks go through a lot—tossed in bags, tucked into books, pulled out during late-night reading. To make sure mine last, I laminate each sheet. This not only protects the design but gives it a smooth, glossy finish that feels extra special.
Step 5: Cutting Each Bookmark ✂️
This part is all about precision! I use a guillotine paper cutter to slice each bookmark. I always double-check both sides—sometimes one side may show a little extra white from the paper edges. When that happens, I carefully trim it away so the design looks clean and professional.
Don’t have that special cutter, no worries! Good old-fashioned scissors will also do the trick. 😉
Step 6: Rounded Edges for a Finished Look
To keep corners from bending or fraying, I use a paper corner cutter to round off the edges. It’s a small detail that makes a big difference, giving the bookmarks a softer, more polished feel.
Step 7: The Final Touches ✨
Sometimes I’ll leave the bookmark simple and elegant. Other times, I’ll add a little flair with a hole punch at the top—perfect for attaching a tassel or a beaded charm. It’s these tiny finishing touches that make each bookmark feel like a unique gift.
Why Shop Printable Bookmarks?
The beauty of printable bookmarks is that you can enjoy handmade quality without the wait. With just a quick download, you can print, cut, and create your own set at home—or shop from my ready-made designs if you’d prefer something already finished. They make the perfect creative gift for book lovers, teachers, students, and small business stationery lovers alike.
✨ Browse the collection of Bookmarks and find a design that makes your reading time even more magical.